5+ Surprising Ways Shading Solution Can Save Your PMU Procedure
Hi there! I’m AshmeeyOpens a new windowOpens a new window, a PMU artist and trainer based in Mumbai, India. Over the past five years, I’ve worked across a variety of permanent makeup procedures, including brows, lips, eyeliner, and paramedical camouflage. Early in my career, I rarely used shading solution because, like many artists, my initial training didn’t cover everything. But as my skills evolved, shading solution became a go-to staple in my setup; essential, like bananas in a fruit salad. Today, I can’t imagine working without it. This post is especially helpful for artists with less than two years of experience. Below, I’ll share five (plus a bonus) powerful ways shading solution can help improve your results, even when you don’t expect it. Be sure to check out tip #5; it changed the game for me.
What Is Shading Solution?
Shading solution is the liquid base used to suspend pigment particles in PMU inks. It typically includes:
• Glycerin
• Distilled water
There are two common types:
• Thin shading solutionOpens a new windowOpens a new window: Less glycerin for a faster, more fluid flow
• Thick shading solutionOpens a new windowOpens a new window: More glycerin for a slower, more controlled flow
Choose your consistency based on how much pigment flow and control your technique requires.
Working on Mature Clients & Dry Skin (Age 50+)
Mature skin can retain pigment exceptionally well, sometimes too well. I’ve had healed results appear darker than intended, giving a more saturated, tattoo-like effect.
To soften the result, I dilute the pigment using the following ratio:
• 1–2 drops of shading solution
• 5–6 drops of pigment
This creates a more natural, sheer look that’s ideal for mature clients. You can always intensify the saturation at the second session if needed.
Dry skin can behave similarly to mature skin, often resulting in overly intense healed results. I use the same dilution ratio above to soften the appearance of pigment and improve healed outcomes.


Creating Natural Gradients (Ombré Effects)
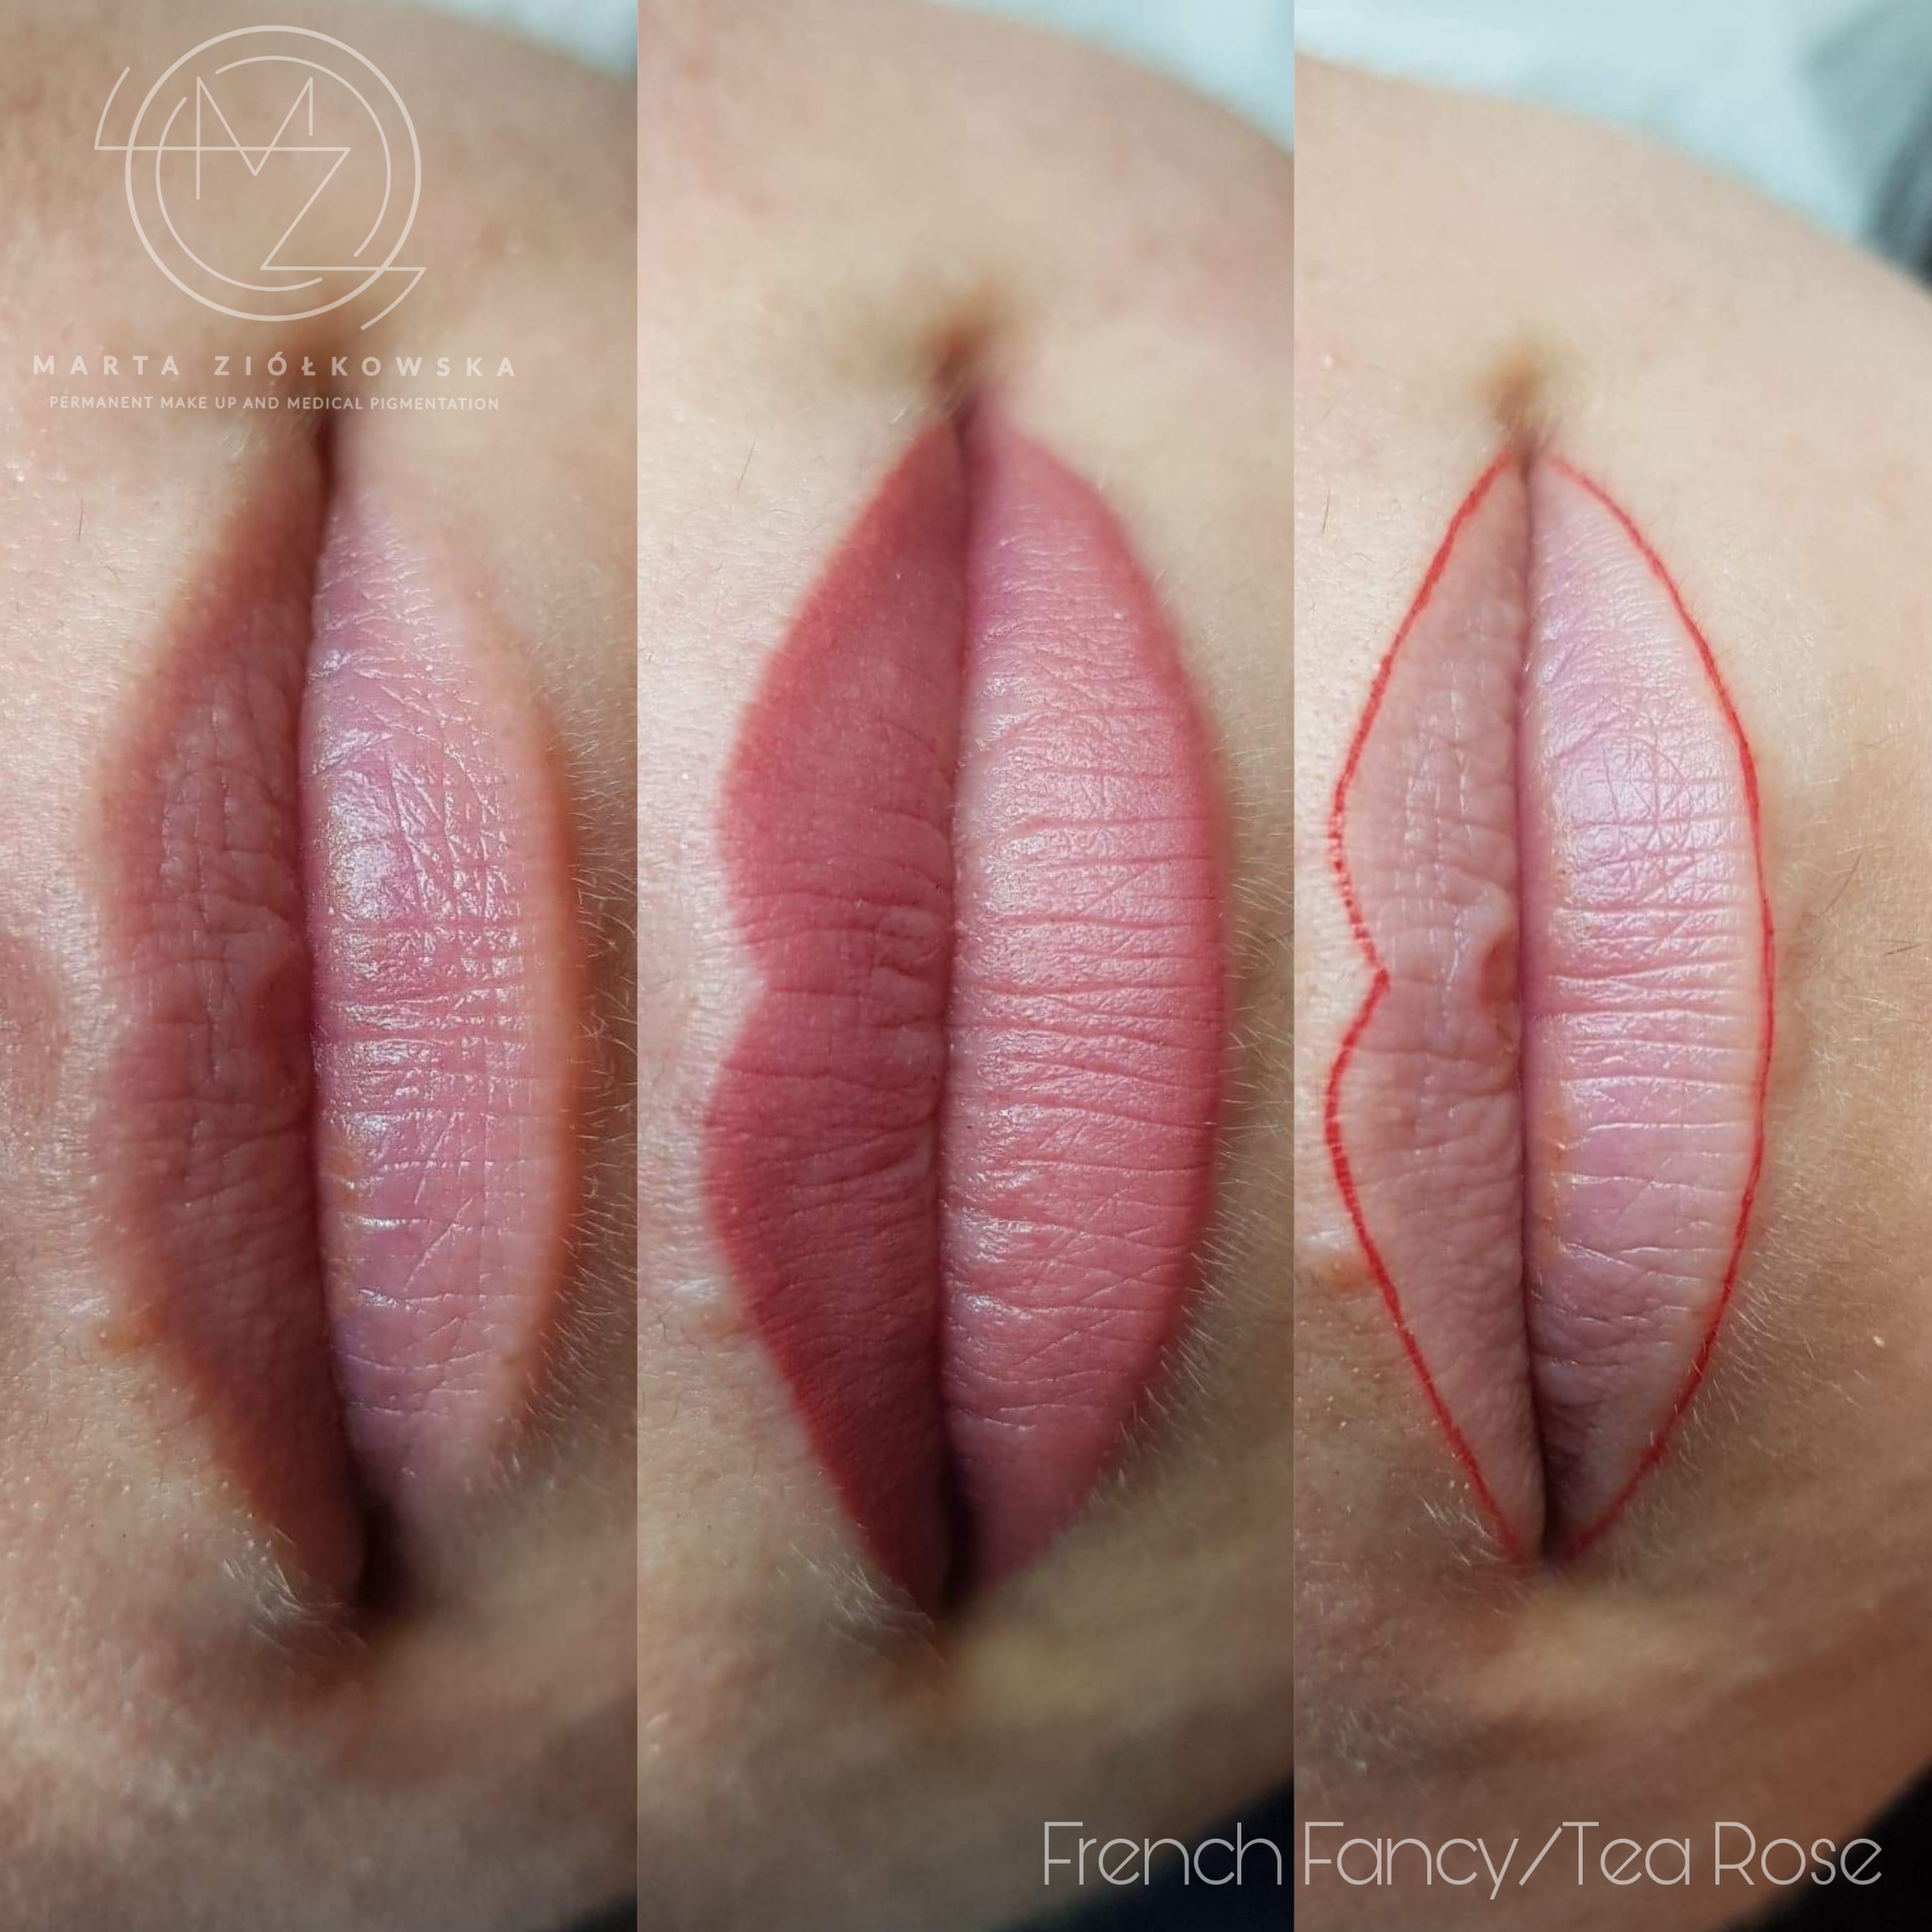
From brows to lips and even eyeliner, shading solution allows you to create smooth transitions and ombré effects by adjusting saturation levels.
For example:
• Use concentrated pigment at the outer edges
• Dilute pigment at the center for a soft, voluminous glow
When creating shaded eyeliner with lighter brown pigments, diluting with shading solution can improve flow and implant retention, especially when working with lower machine pressure.
Balanced Natural—5 drops TGS + 1 drop Ready ModOpens a new windowOpens a new window + 1 drop Forest BrownOpens a new windowOpens a new window + 3 drops Thinning Solution
Light & Delicate—7 drops TGS + 3 drops Thinning Solution
Dimensional Depth—4 drops TGS + 2 drops Ready Mod + 2 drops Forest Brown + 2 drops Thinning Solution
*Note: TGS = Tina’s Gold SunriseOpens a new windowOpens a new window
Reducing Pigment Waste
If your pigment bottle seems empty or your pigment ring starts to thicken, don’t toss it just yet.
Try this:
• Add 5–7 drops of shading solution into the bottle and shake well
• Add a drop directly to the pigment ringOpens a new windowOpens a new window to rehydrate thickened pigment
This tip is especially useful in colder studio environments where pigment may thicken more quickly.
Correcting Mistakes in Real Time
This one is a lifesaver. If you’ve:
• Gone deeper than intended
• Deposited pigment that’s too dark
• Made a placement error you want to lighten immediately
Instead of jumping to saline removal, you can deposit shading solution directly into the area. Because the skin can only absorb a limited amount of liquid, the shading solution helps flush out excess pigment gently and safely.
This is especially effective during camouflage and paramedical procedures, where softness and subtlety are key.
Final Thoughts
Shading solution may not always get the spotlight, but it’s one of the most versatile tools in a PMU artist’s kit. Whether you’re enhancing healed results, adjusting pigment flow, or correcting a mistake mid-procedure, shading solution gives you flexibility and control.
If you’re an experienced artist, I’d love to hear how you’re using shading solution in your work. Let’s keep sharing and learning together!


